7 Landscape Design Ideas for Spring 2024
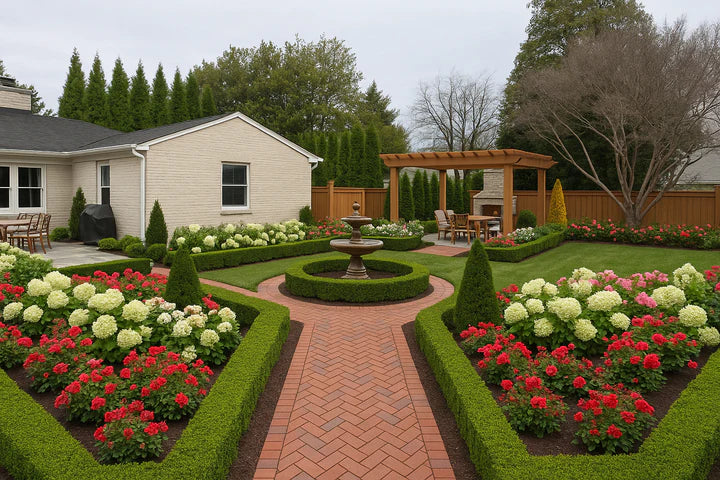
Time for something new! From outdoor lighting to kitchen gardens, kickstart the new season with fresh landscape design ideas. Here are seven landscape design ideas to refresh your outdoor space this spring:
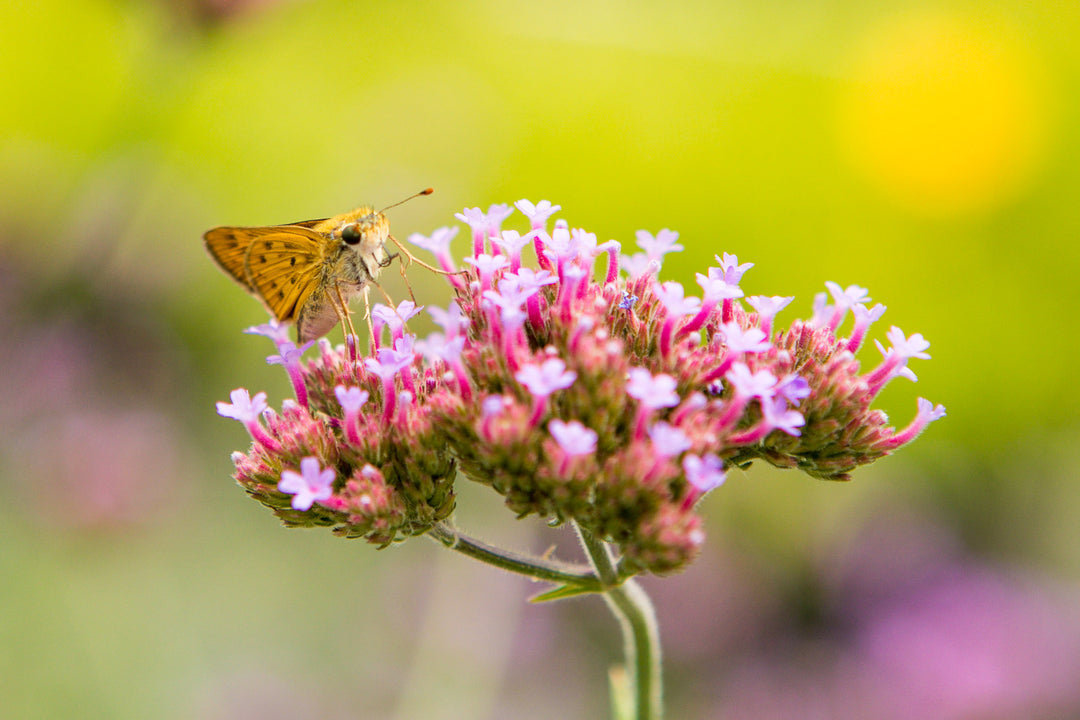
1. Create a Colorful Perennial Border
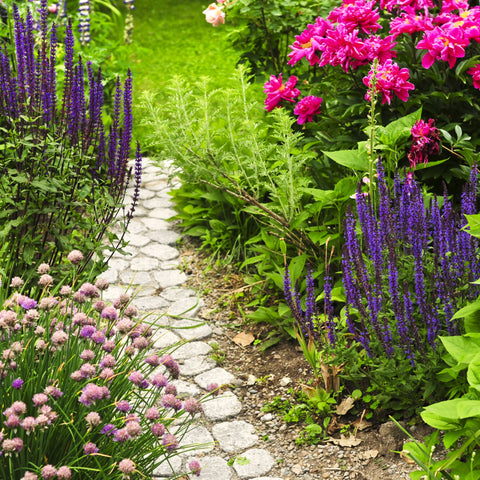
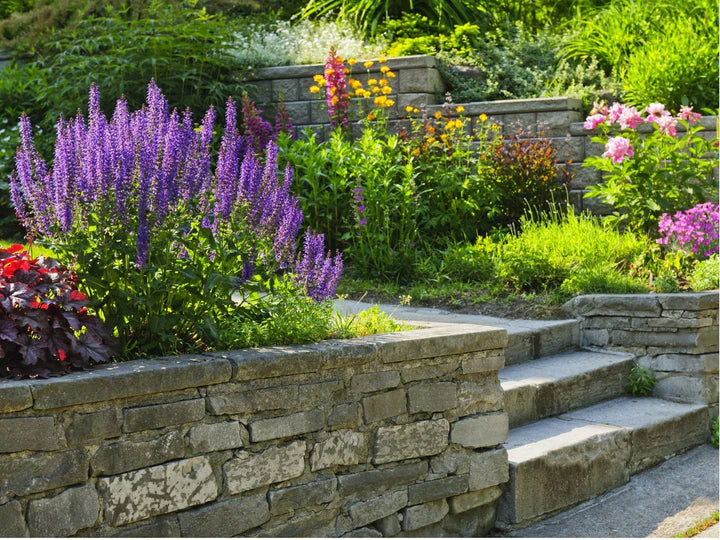
Plant a mix of perennials that bloom at different times to ensure continuous color. Consider adding spring favorites like daffodils, tulips, and hyacinths for early color.
Mix tall, medium, and short perennials to create depth and interest. Plant perennials in groups or drifts for greater visual impact rather than in single rows.
Taller plants should be placed at the back of the border, with medium and shorter ones towards the front.
2. Plant a Kitchen Garden
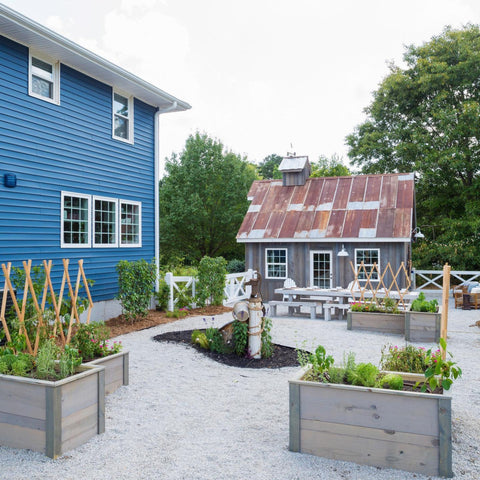
Start a small vegetable and herb garden close to your kitchen. Raised beds or containers can make it easier to manage and can be quite decorative.
Here are some tips:
- Select a spot that receives at least 8 hours of sunlight daily.
- Ensure the site is close to your house for easy observation and access.
- It should be sheltered from strong winds or have a windbreak if necessary.
- Decide on the size of your garden based on what you can manage.
- Choose vegetables and herbs that you enjoy and that grow well in your region.
- Consider companion planting for beneficial interactions (e.g., tomatoes with basil).
Harvest your vegetables when they are ripe for the best flavor. Regular picking often encourages more production.
3. Enhance the Entryway

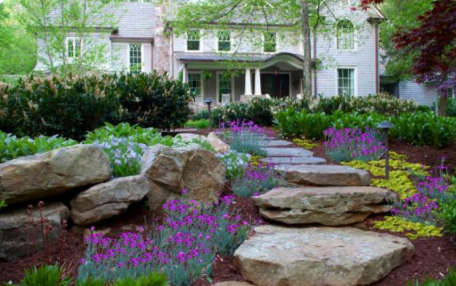
Make your home's entrance inviting with a well-designed walkway lined with flowering shrubs or ornamental grasses.
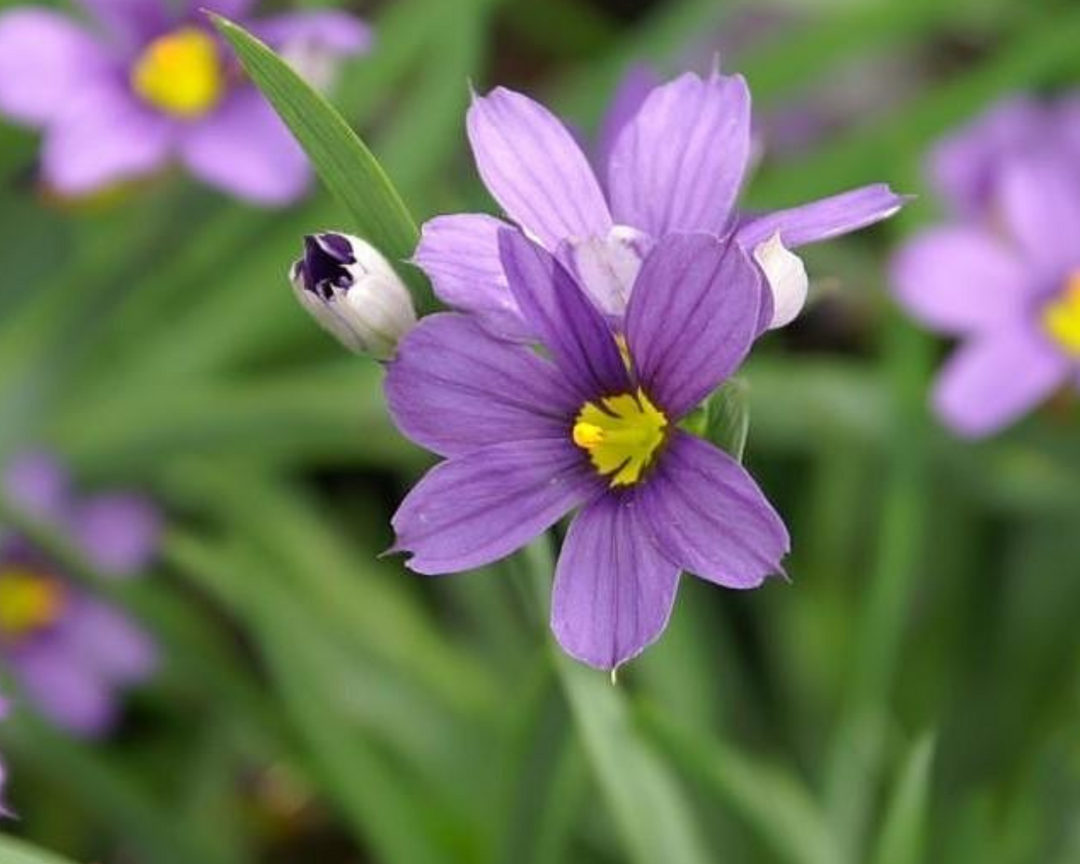
Plant a combination of perennials, shrubs, and ground covers to create a lush, layered look. Consider low-growing plants like Pratia pedunculata 'County Park' for ground cover.
If space allows, a small bench or a pair of chairs provides a spot to relax and enhances the entryway.
4. Incorporate Layered Planting
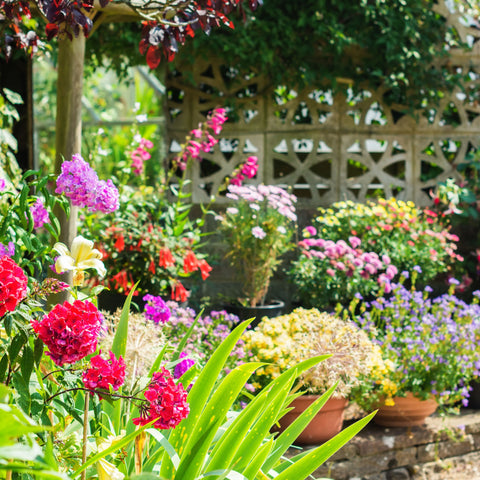
Use a mix of trees, shrubs, and groundcovers to create a layered look. This adds depth and interest to your landscape design:
-
Start with Trees: These are the tallest elements and form the canopy layer. Plant them at the back or center, depending on the garden's design.
-
Add Shrubs: Place shrubs under the trees. They make up the understory and should be of varying heights to create a natural, staggered effect.
-
Include Perennials: Introduce perennials in front of or between shrubs. Choose different textures and colors for visual interest.
-
Incorporate Groundcovers: Use groundcovers to fill in the lowest layer. They will cover bare spots and reduce weed growth.
-
Consider Seasonal Changes: Select plants that offer interest across different seasons for a garden that's attractive year-round.
-
Play with Texture and Color: Mix plants with different leaf textures and colors to add contrast and depth.
-
Use Vertical Space: Climbing plants on trellises or walls can add height without taking up ground space.
-
Think about Growth: Plant with the mature size of each plant in mind to avoid overcrowding.
-
Balance and Rhythm: Repeat certain elements to create a sense of cohesion and rhythm in the garden.
-
Maintenance: Remember that some plants will grow faster than others, so regular pruning may be necessary to maintain the layered look.
Layered planting not only enhances the beauty of your garden but also creates a more diverse habitat for wildlife.
5. Install Outdoor Lighting
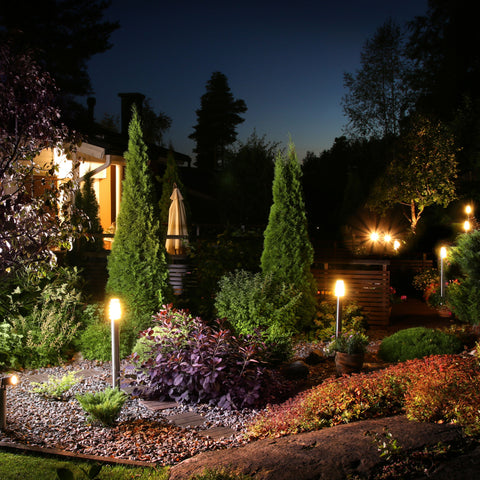
Highlight your landscape features with outdoor lighting, which can also provide safety and extend the enjoyment of your garden into the evening:
Plan Your Design:
- Determine the areas you want to illuminate, such as pathways, garden features, or architectural elements.
- Decide on the type of lighting fixtures you need, like spotlights, path lights, or floodlights.
Choose the Right Lights:
- Select fixtures that are suitable for outdoor use and can withstand the elements.
- Consider energy-efficient options like LED lights to save on electricity costs.
Map Out the Light Placement:
- Lay out your lights where you plan to install them.
- Use a tape measure to space the fixtures evenly and according to the manufacturer's recommendations.
Install the Transformer:
- The transformer reduces the standard 120-volt household current to a safer 12 volts for low-voltage landscape lighting.
- Mount the transformer near a GFCI outlet and at least one foot above ground level.
Run the Cables:
- Lay out the electrical cable along the planned route, avoiding areas where it could be damaged by foot traffic or gardening tools.
- Bury the cable about 3 to 6 inches deep in the soil or tuck it under mulch.
Connect the Lights:
- Attach the light fixtures to the cable using the connectors provided or recommended by the manufacturer.
- Ensure all connections are secure and watertight to prevent short circuits.
Test the System:
- Before burying the cables, plug in the transformer and turn on the lights to ensure everything is working correctly.
- Make any necessary adjustments to the positioning of the lights for the desired effect.
Bury the Cables and Install the Fixtures:
- Once you're satisfied with the setup, bury the cables at the recommended depth.
- Install the light fixtures according to the manufacturer's instructions, making sure they are stable and upright.
Final Adjustments:
- After all the lights are installed, wait until dusk to make final adjustments to the direction and angle of the lights for the best illumination.
Remember to always follow local electrical codes and regulations, and consider hiring a professional electrician if you're not comfortable with electrical work.
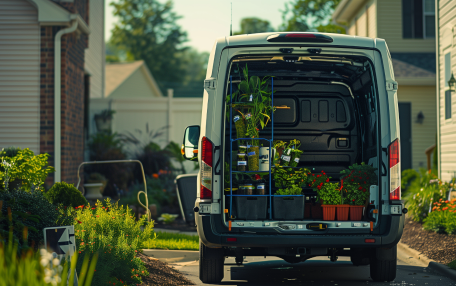
Additionally, if you're planning to install lighting for larger trees or features, you might need to work with a contractor or use ServeScape’s ‘One-Click’ Installation service for a professional touch.
6. Plant Spring-Flowering Trees and Shrubs
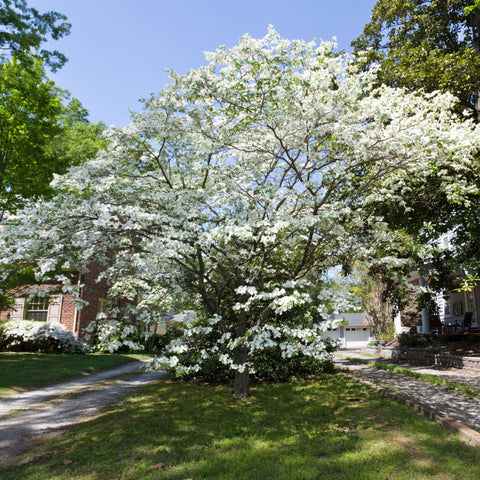
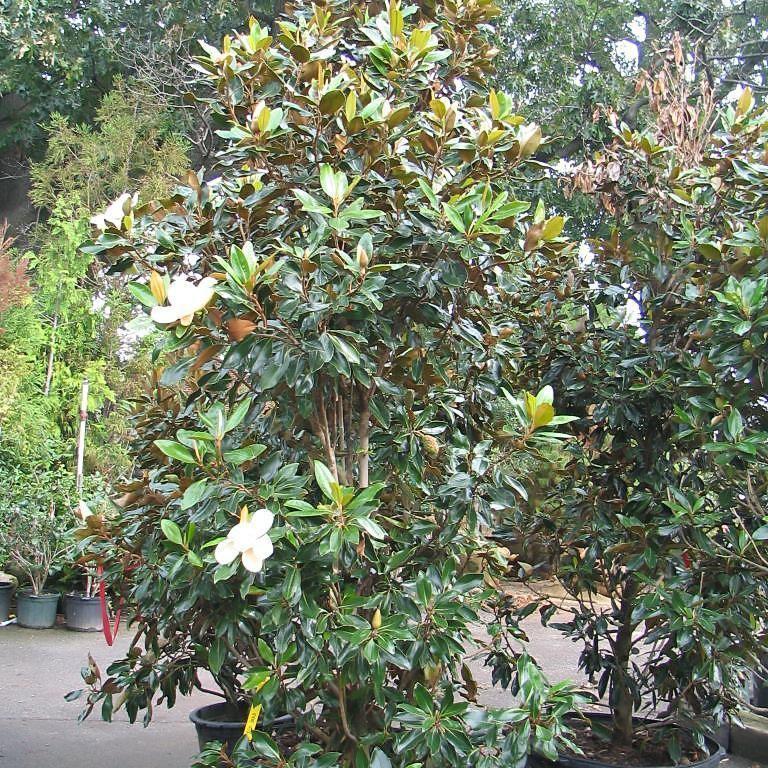
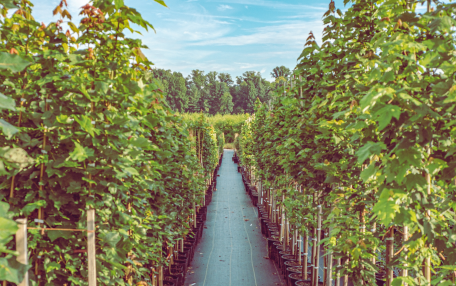
Add trees like Dogwoods or Redbuds that bloom beautifully in spring. Shrubs such as Azaleas and Rhododendrons, like the 'Spring Sensation' Aromi Azalea, can provide a burst of color.
When planting these trees and shrubs, consider their mature size and space them accordingly to ensure they have room to grow and thrive. Also, remember to plant them in a location where they will receive the appropriate amount of sunlight for their specific needs.
For companion planting, consider pairing these with plants like Lilacs, Viburnums, Coneflowers, Butterfly Bushes, Witch Hazel, Asters, and Spireas to create a diverse and attractive landscape.
7. Use Container Gardens
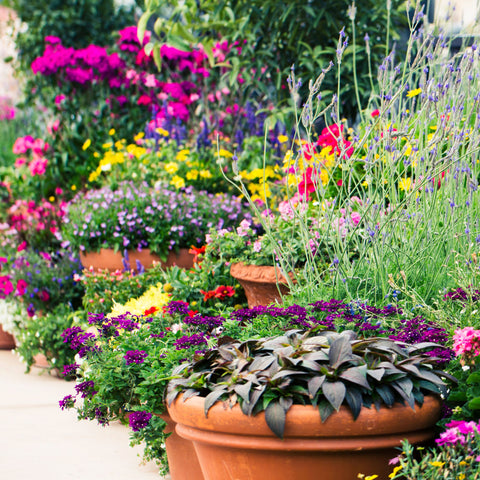
For versatility and impact, especially in smaller spaces, use pots filled with a mix of plants for height, texture, and color.
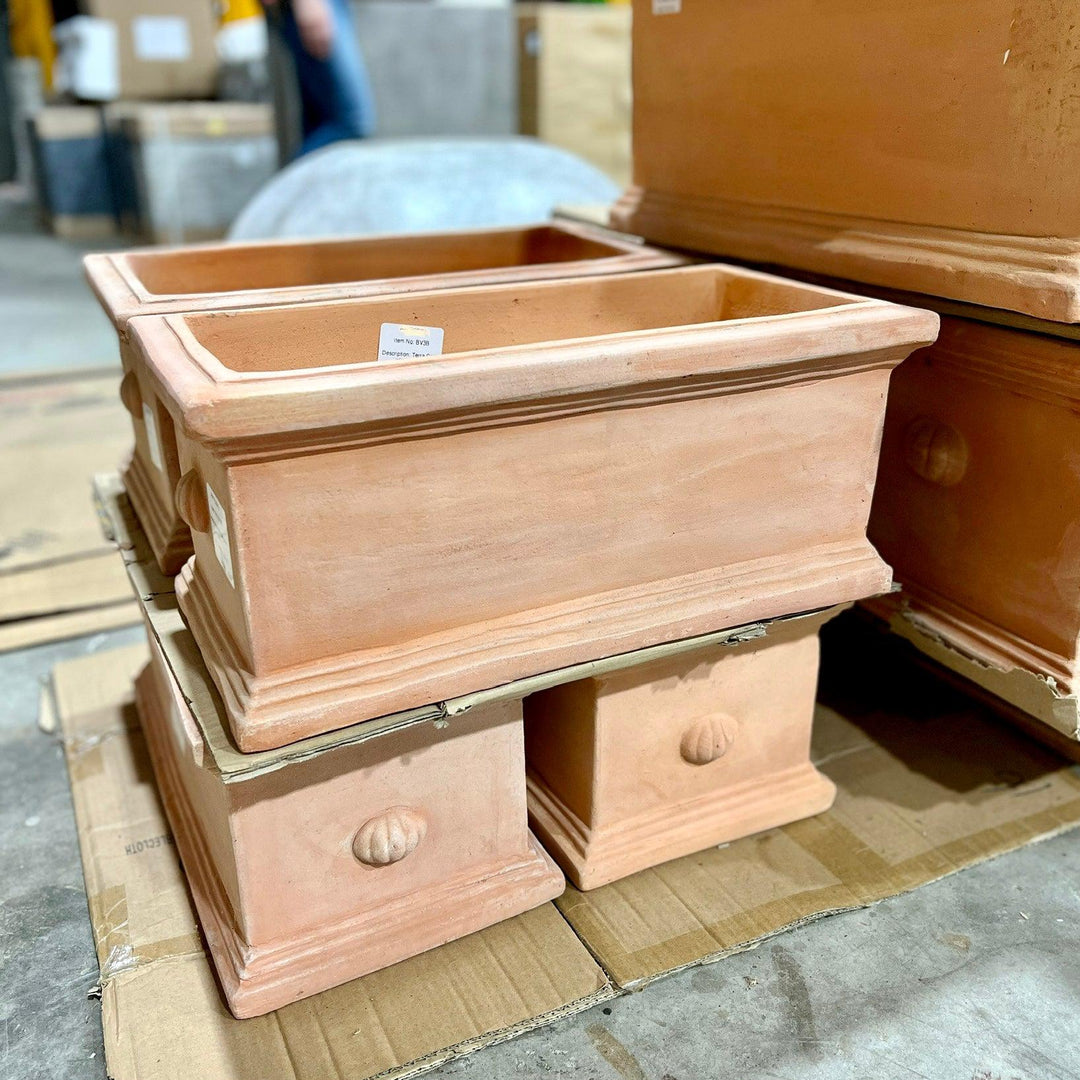
- Choose the Right Containers: Make sure your containers have drainage holes to prevent waterlogging. If they don't, you can drill some yourself.
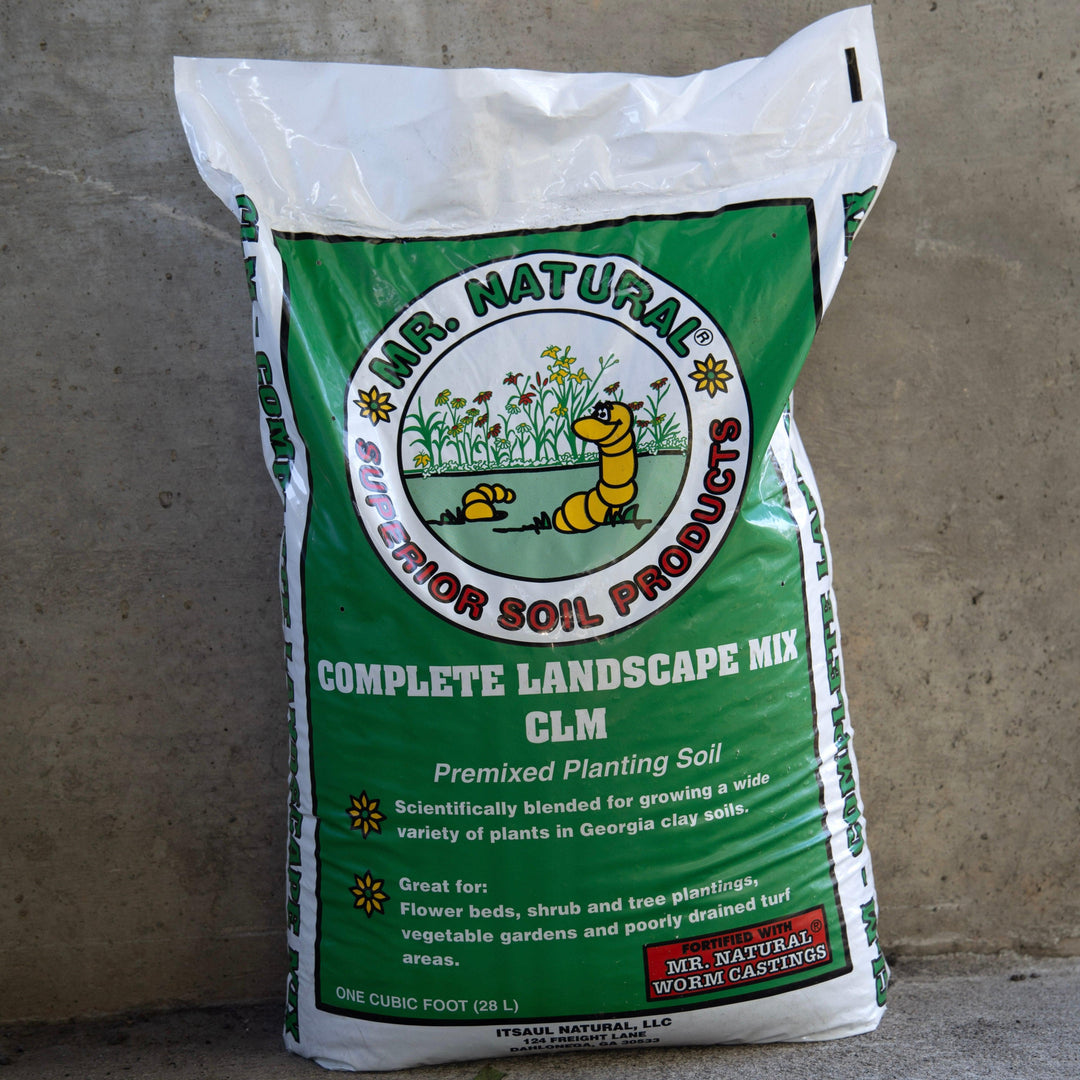
- Select Quality Potting Mix: Use a well-draining potting mix suitable for container gardening. Avoid using garden soil as it may not provide the right aeration and drainage.
- Pick Your Plants: Choose plants that are suitable for the amount of sunlight your container will receive. Consider the mature size of the plants to avoid overcrowding.
- Arrange Your Plants: Before planting, arrange the plants on top of the soil to get an idea of spacing and design.
- Planting:
- Fill the container one-third full with potting mix.
- Remove plants from their nursery pots and loosen the roots gently.
- Place the plants in the container, ensuring they are at the same depth they were in their original pots.
- Add more potting mix around the plants, leaving about an inch of space below the rim of the container for watering.
After planting, water the container garden until water runs out of the drainage holes. This will settle the soil and eliminate air pockets.
Place your container garden in its designated spot and enjoy. Monitor plant growth and health, pruning and deadheading as necessary to encourage more blooms and maintain a tidy appearance.
Enjoy Spring Landscape Design
Happy designing this spring! If you need extra help, be sure to check out the ServeScape Design Studio. Work with expert landscape designers to create a landscape that you can enjoy year-round.

