7 Spring Essentials for Your Garden

Spring is in the air. The weather is warming up, the days are getting longer, and hibernating creatures are beginning to waken. Get your garden ready for the new season. For successful spring planting, here are some essentials you'll want to consider:
1. Choose healthy, locally-grown plants
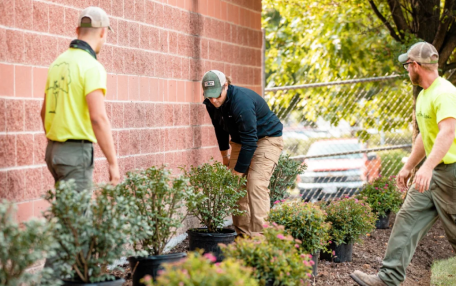
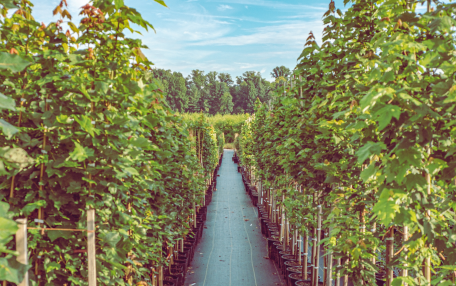
Choose locally grown, healthy plants that are suitable for your region's climate and soil conditions.
Locally grown plants are better adapted to the specific climate and soil conditions of your area. This means they're more likely to thrive with less effort and fewer resources.
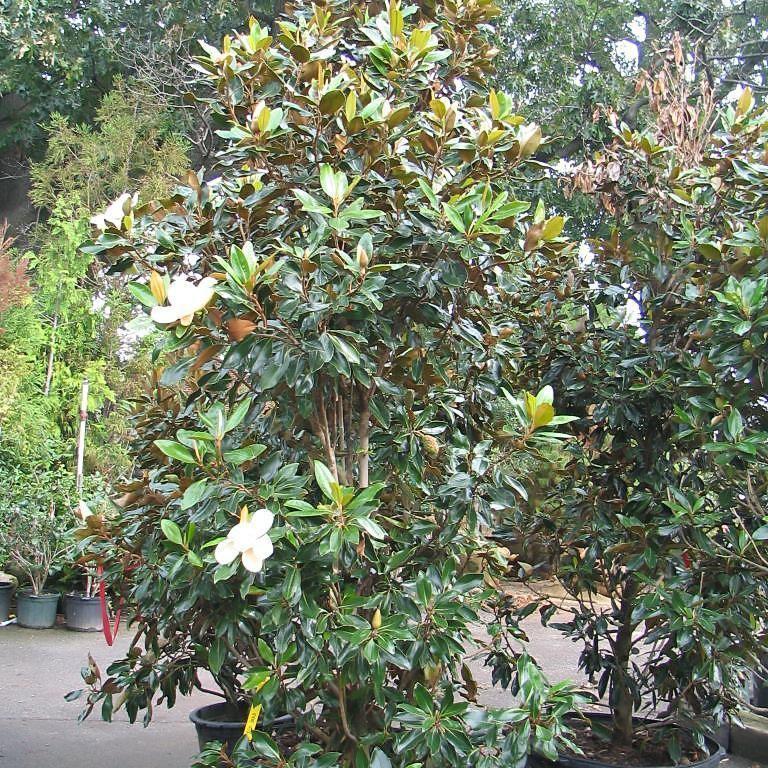
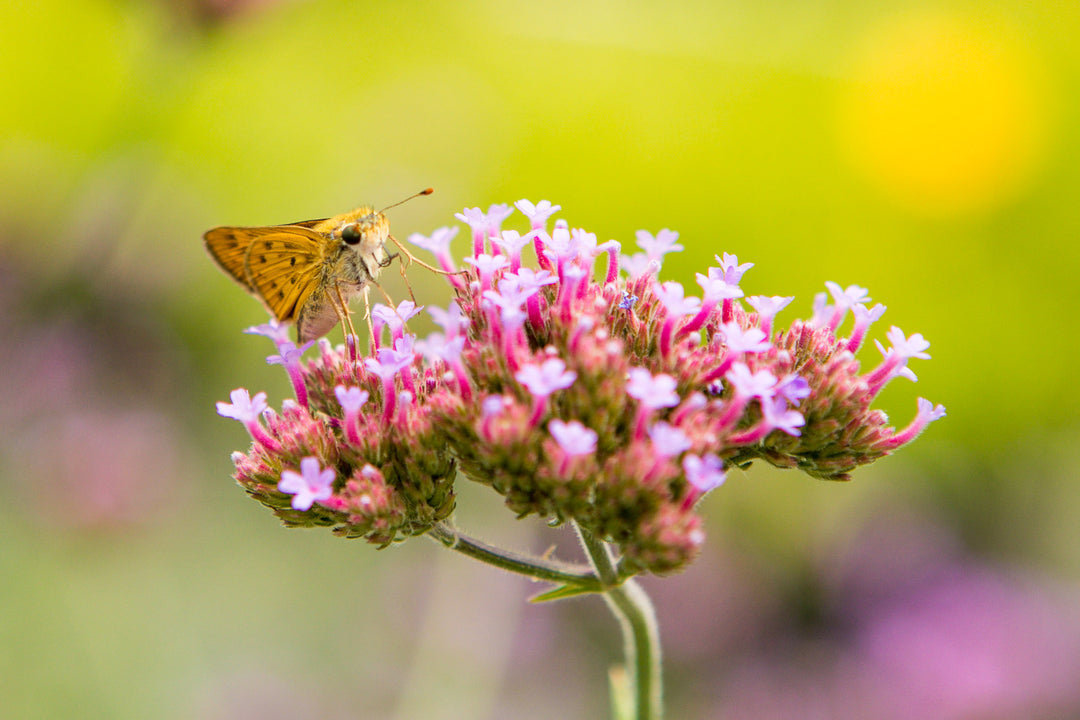
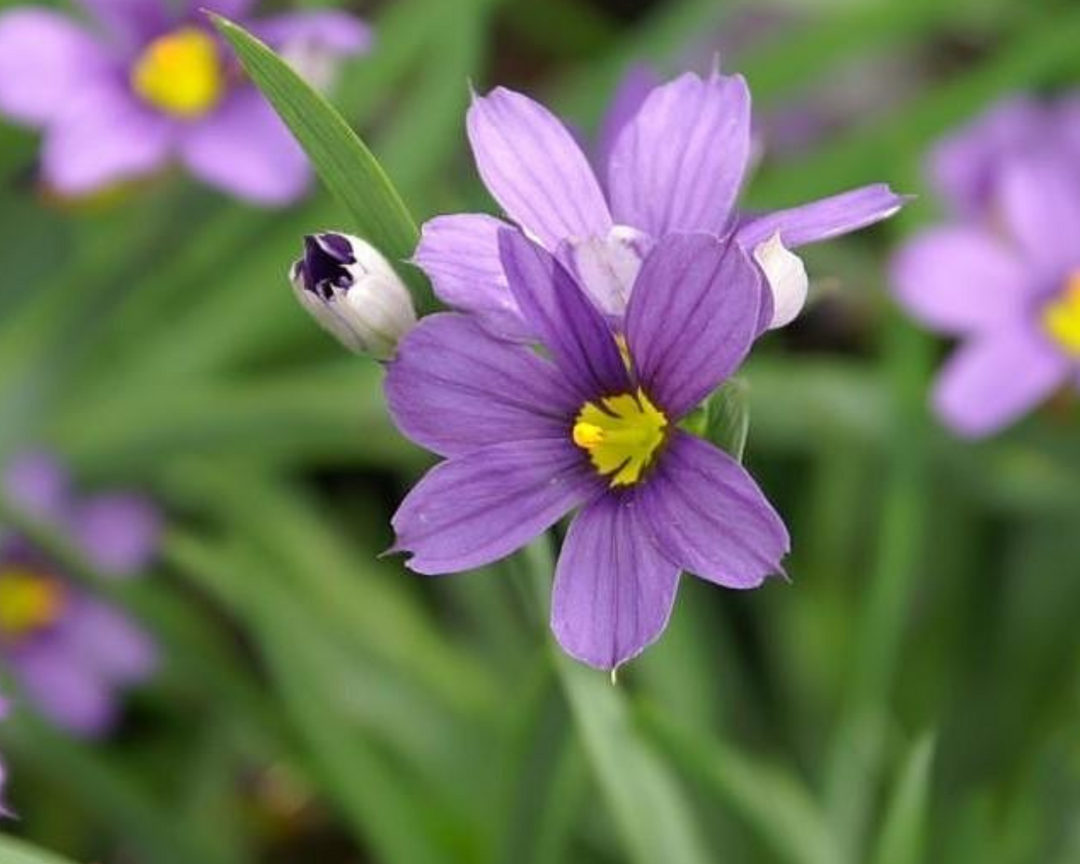
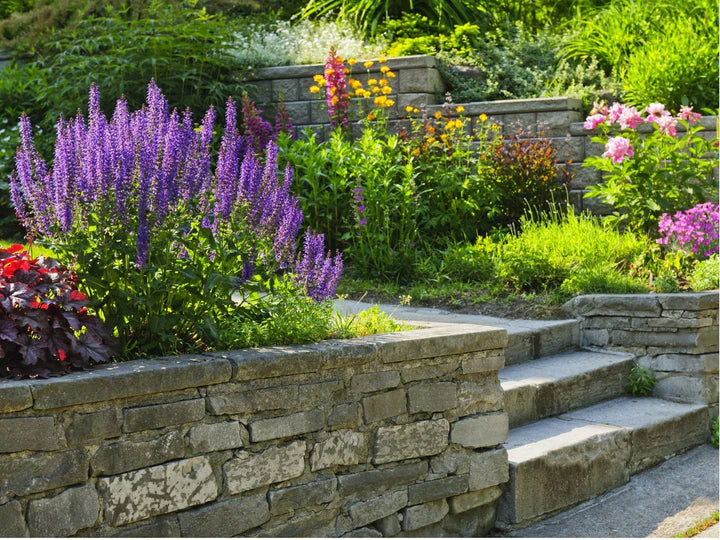
Here are a few of our favorite locally-grown, native plants:
Buying locally grown plants like these also supports local nurseries and growers, which helps to sustain the local economy and create jobs within your community.

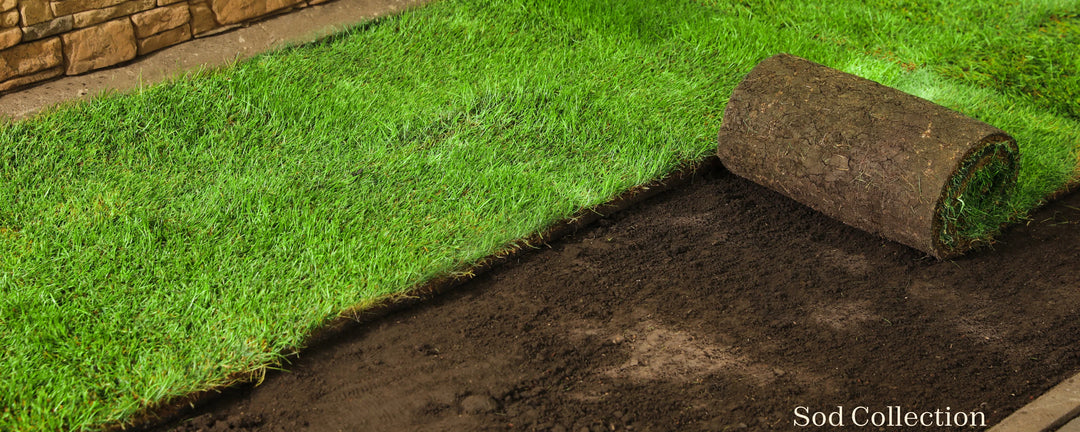
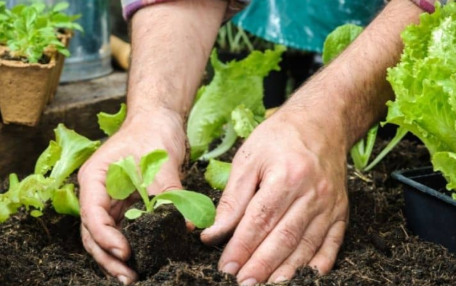
2. Prep your soil
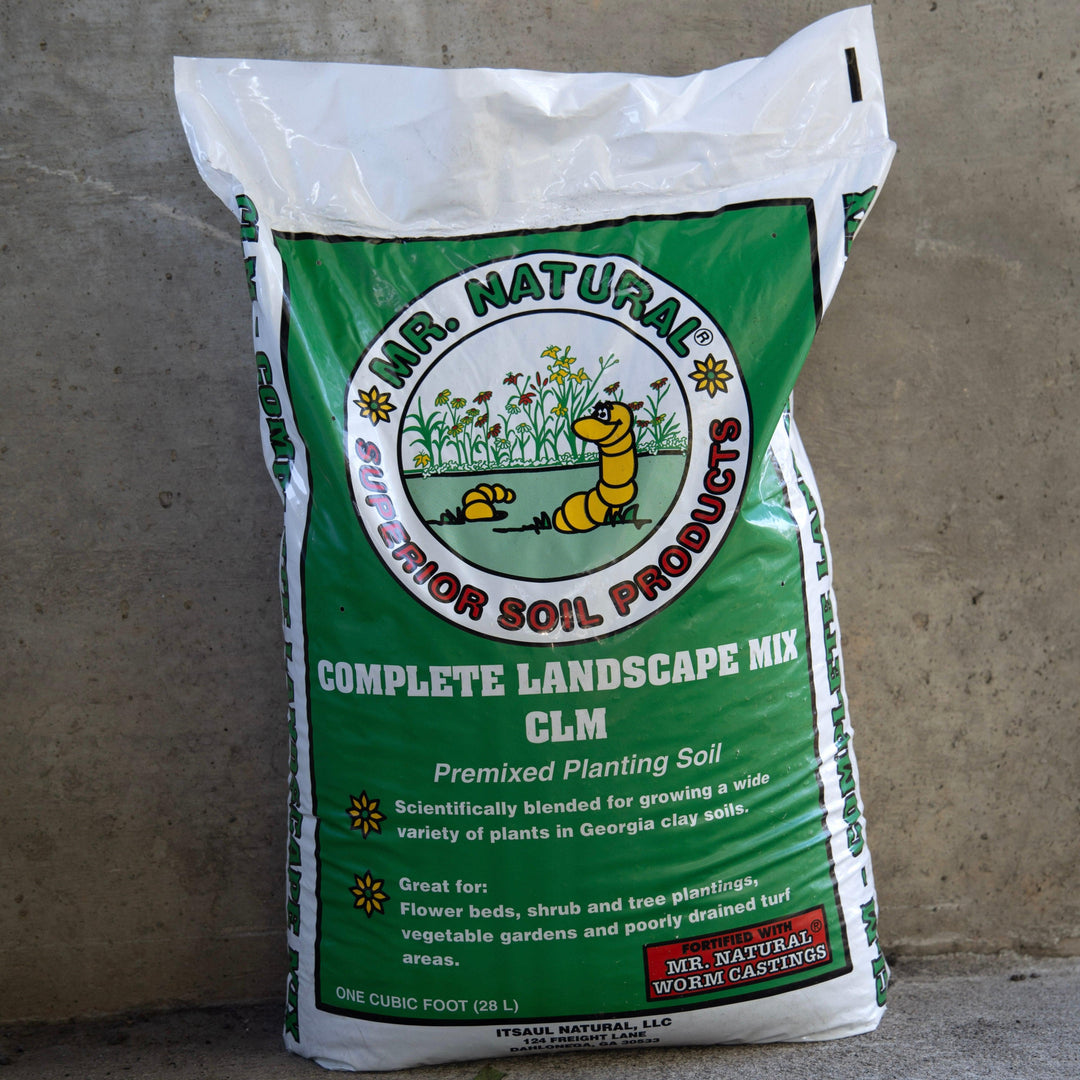
Amend your soil with compost or other organic matter to improve its structure, fertility, and drainage. To prepare your soil for spring, here's a step-by-step guide:
- Work the soil to a depth of 8 to 10 inches, turning it over completely.
- Remove any debris such as large stones and trash.
- Turn under all plant material like leaves, stems, and roots that will decay easily.
- Just before planting, work the soil again and incorporate organic matter, sand (if needed), and fertilizer.
- For average garden soil, add a one to two-inch layer of organic matter.
- In sandy soil, only organic matter is needed, but for heavy clay soil, double the amount of organic matter and add sand.
- Improve poor subsoil by adding organic matter each year, such as peat moss, pine bark, compost, or leaf mold.
- Have the soil tested to check pH levels and nutrient needs. Aim for a pH of 6.0 to 6.8 for most annuals.
- If a soil test isn't available, add a complete fertilizer like 10-10-10 at the rate of 1 lb per 100 sq.ft.
- Incorporate any needed lime and fertilizer when tilling in the soil amendments.
- Rake the soil surface smooth to finish.
Also, select an appropriate fertilizer for your plants and follow the recommended application rates.
Read more: Understanding Soil for a Thriving Garden

3. Select the right tools
Have the right planting tools on hand, such as a spade, trowel, gloves, and a watering can or hose. Here's a complete checklist:
- Garden Gloves - Protect your hands from thorns, splinters, and soil-borne pathogens.
- Spade and Shovel - For digging holes and moving soil.
- Garden Fork - Helps to break up the soil and incorporate compost or fertilizer.
- Hand Trowel - Ideal for digging small holes for planting and weeding.
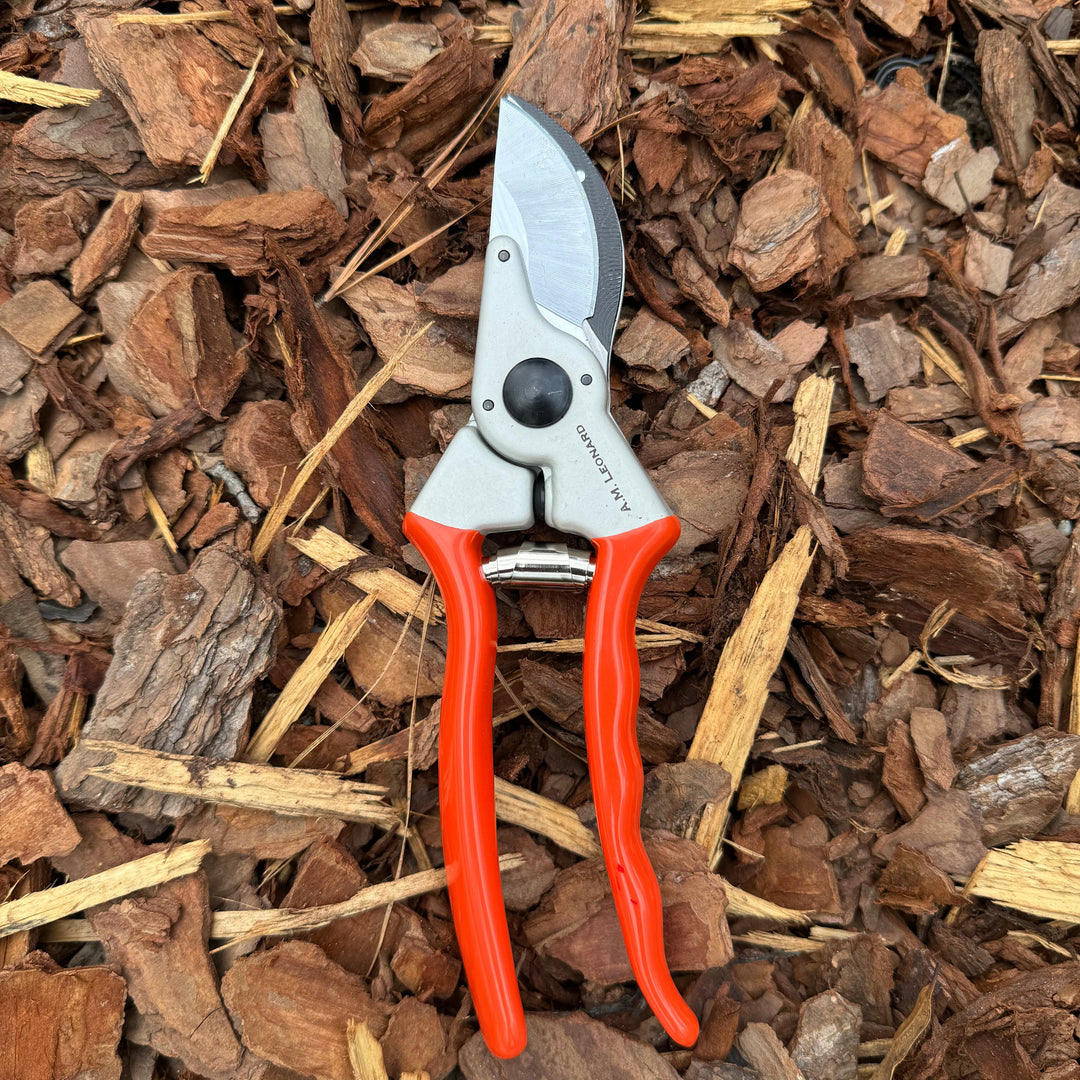
- Pruning Shears - Essential for trimming and shaping plants.
- Hoe - Useful for shaping soil and removing weeds.
- Garden Rake - Helps to level soil and clear debris.
- Watering Can or Hose with a Spray Nozzle - For gentle watering of new plantings.
- Wheelbarrow - To transport soil, compost, and plants around the garden.
- Plant Labels - To keep track of what you've planted where.
- Garden Twine or Plant Ties - To support plants as they grow.
- Moisture Meter - Ensure your plants receive not too little and not too much water.
Remember to clean and store your tools properly after use to keep them in good condition.
4. Mulch around your plants
Use mulch to retain moisture, regulate soil temperature, and reduce weed growth around new plantings. Here's how to do it properly:
-
Clear the Area: Remove any weeds, debris, or old mulch from around the plants where you will be applying the new mulch.
-
Apply the Mulch: Spread a 3 to 5-inch layer of mulch around the plants. Be careful not to pile mulch against the plant stems or tree trunks to avoid rot and pest issues.
-
Spread Evenly: Use a rake or your hands to spread the mulch evenly. The layer should be thick enough to block out weeds but not so thick that it impedes water infiltration.
-
Water: After mulching, give the area a good watering to help settle the mulch in place and provide moisture to the plants.
-
Maintain the Mulch: Check the mulch periodically and fluff it up if it becomes compacted. Replenish the mulch as needed to maintain the 3 to 5-inch depth.
Remember, organic mulches like pine straw, pine bark nuggets, hardwood chips, and shredded leaves are beneficial for the soil as they break down. Avoid using inorganic mulches like rock or gravel in areas with high temperatures, as they can increase heat stress on plants.

5. Set a watering schedule
Setting up a watering schedule for your plants involves observing their individual needs and the environmental conditions they're in. Here's a general guide to help you establish a routine:
-
Check Soil Moisture: Before watering, check the soil moisture. You can do this by feeling the soil, using a moisture meter, or lifting the container to gauge its weight.
-
Observe Plant Signs: Look for signs that your plants need water. Wilting, off-color leaves, or a lighter container can indicate it's time to water.
-
Water Deeply: When you do water, ensure you water deeply so that the moisture reaches the entire root system. Water should drain out of the bottom of the pot to prevent salt buildup.
-
Morning Watering: The best time to water is in the morning, as it gives the plants time to absorb the water before the heat of the day and reduces fungal diseases.
-
Adjust for Seasons: Water more frequently during hot, dry periods and reduce watering in cooler, wetter seasons.
-
Group Plants by Water Needs: If possible, group plants with similar watering needs together to make it easier to manage your watering schedule.
-
Use Mulch: Apply mulch around your plants to help conserve moisture and reduce the frequency of watering.
-
Monitor Weather: Be mindful of the weather and adjust your watering accordingly. If it rains, you can skip the next scheduled watering.
Remember, the specific needs of your plants can vary based on the type of plant, the size of the container, the growing medium, and the environmental conditions. Tailor your watering schedule to the needs of your plants and to adjust as those needs change over time.
6. Set up plant supports
For plants that need it, like some perennials and vegetables, have stakes or trellises ready. This especially important for those that are tall, heavy, or prone to bending and breaking. Here's how you can set up plant supports:
-
Choose the Right Support: Select a support that is appropriate for the type of plant you are growing. For example, use stakes for tall perennials, cages for tomatoes, and trellises for climbing plants.
-
Install Early: It's best to install supports at planting time or shortly after, before the plant needs them. This minimizes disturbance to the growing roots.
-
Positioning the Support: Place the support firmly in the ground, ensuring it is deep enough to be stable. Avoid damaging the root system when inserting the support into the soil.
-
Tie the Plant: Use soft ties like strips of cloth, old pantyhose, or special plant ties to attach the plant to the support. Do not tie too tightly; leave room for growth.
-
Check and Adjust: As the plant grows, check the ties regularly and loosen them if they become too tight. Add more ties as needed to support new growth.
-
Prune as Necessary: Sometimes, pruning the plant can reduce the need for extensive support. Remove any dead or excess growth to keep the plant healthy and manageable.
-
Monitor Plant Health: Keep an eye on your plant for signs of stress or damage. Adjust the supports or add more if the plant continues to grow beyond the initial support.
Remember, the goal of plant supports is to help your plants grow upright and prevent damage from wind or the weight of the plant itself.

7. Control pests and plant diseases
Have organic or recommended pest and disease control methods ready to protect your plants. Here are some general guidelines to help you also manage pest and disease issues effectively:
1. Scouting: Regularly check your plants for signs of pests and diseases. This includes inspecting the undersides of leaves and looking for any damaged wood or branches.
2. Cultural Controls:
- Use plant varieties that are resistant to pests and diseases.
- Rotate crops to prevent recurring problems with pests like root rots and nematodes.
- Cultivate the soil to disrupt the life cycle of pests.
- Plant early in the season to avoid peak pest populations.
3. Mechanical Controls:
- Handpick pests off plants or manually remove weeds
- rune out diseased or infested plant parts to control issues like cankers and stem galls.
- Mow turfgrass at the recommended height to discourage weed development.
4. Biological Controls: Encourage beneficial insects that prey on harmful pests. Learn to identify these allies and create an environment that supports them.
5. Chemical Controls: Use pesticides judiciously, choosing products that are effective but have minimal impact on the environment. Always follow label instructions carefully.
6. Integrated Pest Management (IPM): Implement an IPM program that includes regular monitoring, identifying specific pests, and applying targeted treatments only when necessary.
7. Healthy Planting Material: Use high-quality seeds and transplants from reputable sources to reduce the risk of introducing diseases.
8. Site Selection and Planting Date: Choose a planting location with appropriate sunlight and drainage, and plant at the optimal time to ensure vigorous growth, which can help plants resist pests and diseases.
9. Soil Health: Test your soil and amend it as needed to provide the right nutrients for your plants, which can improve their natural defenses.
10. Monitoring: Inspect your garden at least twice per week during the growing season to catch problems early when they are easier to manage.
Hint: Plants that have been grown locally for many generations often develop resistance to local pests and diseases, reducing the need for chemical interventions.

Happy planting and enjoy the burst of life that spring brings to your garden! Plant Joy! 🌿

